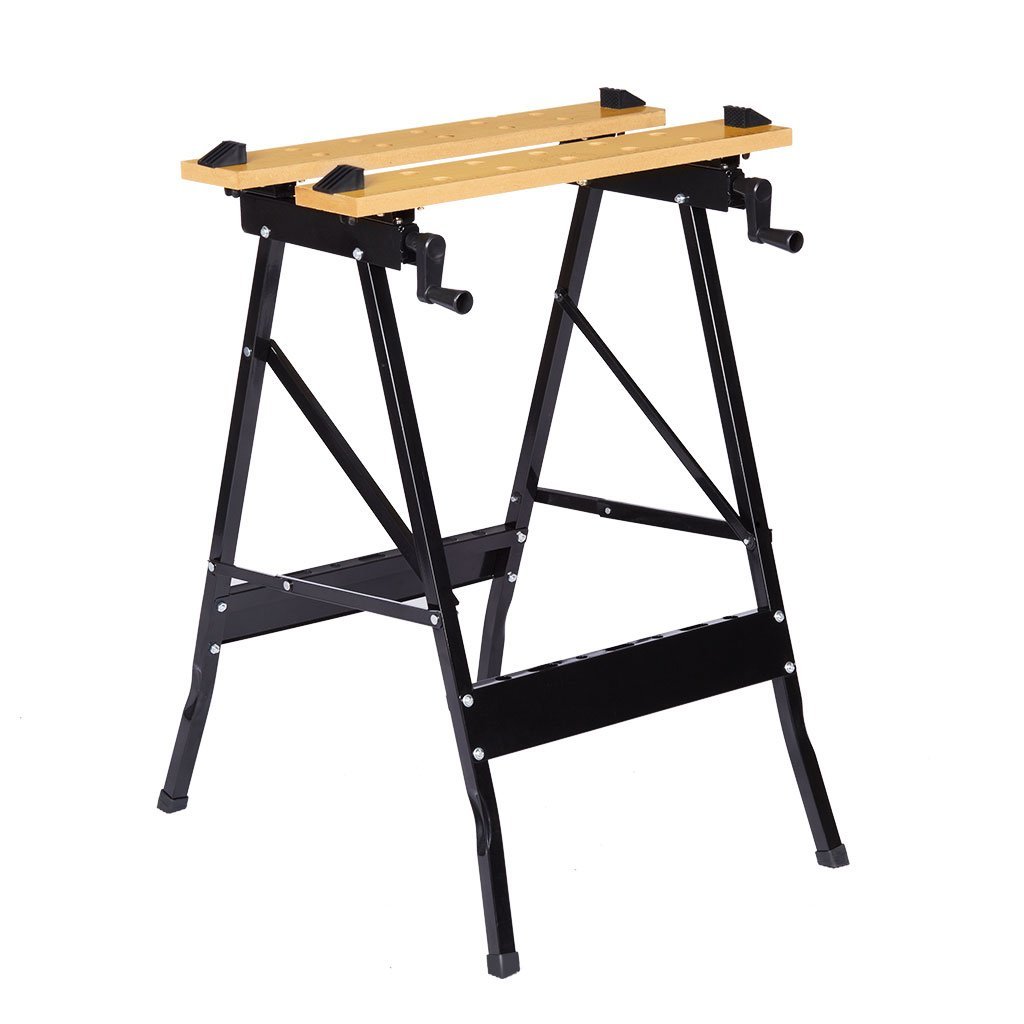
How to Make a Folding Workbench?
Do you need a folding workbench? You must visit ToolsGeeks.com. Having lots of space in the workspace is not a privilege that everyone has. Not using benches all the time is the recommended solution. A bench that can be folded and only stretches 10 cm on the wall (when stored) is the best solution. And fortunately it’s easy to adapt to your needs. Now … how to make it?
To be honest you don’t need to have great carpentry skills as you only need to know how to nail. You just need to make sure (before starting anything) that the floor and walls of your work space are fairly flat, straight and square with each other. If they are not flat enough, you cannot even swing your legs evenly. The following are simple steps for making your folding bench:

- Choose a wall to put your folding bench on
The wall should be made of plywood on a wooden frame. Choosing this type of wall will make your work easier. However, you can use any wall as long as you have equipment that works well on the wall. - Build feet
Building feet is our second stage. We recommend that you use a cheap 2×4 that you can get easily from a hardware store. Nail plates can be used but this is optional. Called optional because you can tilt the wood together and the connection will be as strong without the need for nail plates. If you have to use a nail plate we recommend using it on only one side and tilting nailing the back. - Ensuring gaps
You should ensure that the gap on the top of each leg is large enough to accommodate the installation of your wall. 2×6 wood length may be enough for standard work. - Don’t make your feet less than half the width of your bench. If you make your feet less than half the width of the bench, your bench will be difficult to fold. It’s important to make sure it’s folded without obstruction. 4 “shorter than half the width of the bench ensures that the feet can be folded and are still under the bench.
- Avoid feet sticking forward by making sure the width (of each leg) is no more than the depth of your bench.
- Install the bench
Use a large piece, about 2×6, to hold the bench to the wall. Make sure it’s strong enough to hold the weight of the bench when folded. Stick it to the buttons on the wall behind the plywood.
Make sure the feet are firmly attached and make sure they are also screwed to the stud inside the wall. It would be better if you use a gate hinge because your folding bench will spend most of the time hanging. For many people this might be excessive but it’s very safe and you don’t want your folding bench to fall from your wall at any time. - Determine the separate width that you position the foot by determining the location of the wall stud. You can add several tabs on the sides of the bench to make sure there are no stretched legs. Stretched legs can make your bench fall off the wall. Don’t forget to buy a benchtop.

Not all must be obtained by buying. Sometimes DIY is the best solution for some homework including making a folding workbench. Hopefully by reading this article you can get real benefits. Thank you for reading.