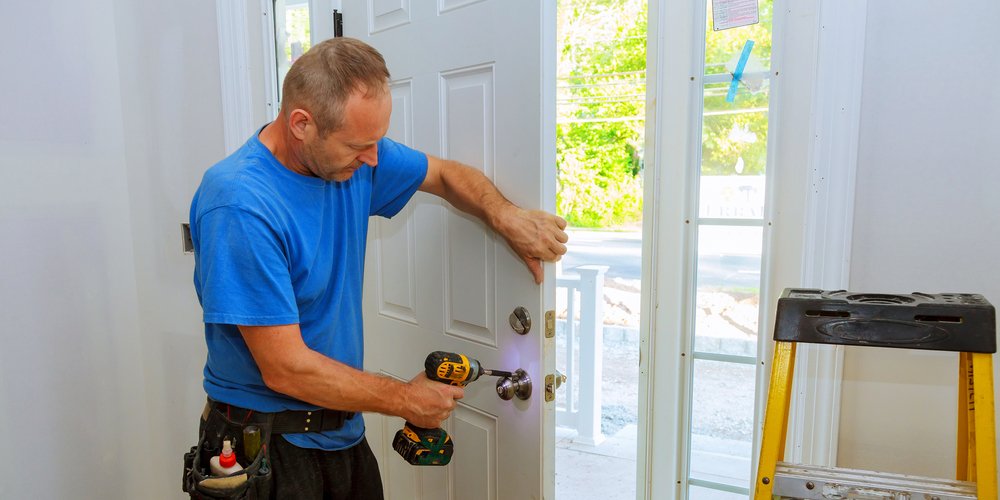
How to Install Your Own Door: For the Intermediate Handyperson
What You Will Need
For this project, installing a door, you will need the following tools and materials to achieve the best results. Make sure you have all your tools readily available for when the time comes. The reason for this is to make the project run more smoothly and effectively.
Tools Needed for this Project:

Caulk gun : Pry bar
Countersink drill bit : Putty knife
Cordless Drill or Driver : Reciprocating saw
Hammer : Safety glasses
Hearing protection : Tape measure
4-feet long level : Leather gloves
Materials Needed for this Project

Door latch and lock : Polyurethane caulk
Galvanized casing nails, 16d : Screws, 3-inches
Minimum expanding foam : Wood shims
New door
Terminology

Header – A Header is a beam-like support within a structure with a wooden frame. The header spans the opening for a door.
Shims – A shim is a flat, thin, or wedge-shaped wood piece. It is used to level or plumb doors and windows alike in an installation.
Trim – Interior trim is the millwork or moulding that is used to frame the door.
Studs – Boards or studs that act as a framing element that aids in supporting the your homes’s walls.
DIY
Step 1
Start by getting the most accurate measurements possible of the door. First, measure the height and width of the door. Next, using a putty knife under a pry bar to protect the wall, cautiously pry off the interior trim. Measure the width between the studs and the height by measuring from the from the floor to the header. Also, measure the trim from the back outside to the face of the interior wall. The purpose of this is to find the jamb width. Based off of these measurements, order a new door.
Step 2
Next, remove the old door. Cut the caulking along the edges of the moulding. Use your utility knife. Remove either the wooden or brick moulding.
Step 3
Prepare the door opening. Check every angle to ensure that the door is levelled. It helps to place a piece of plywood under the door for levelling as well as measurement purposes.
Step 4
It is time to set the new door in your preferred location. Place the door in your desired location after using caulking around the parameter of the gap as well.
Step 5
Now it is time to shim, square, and fasten the frames. Ensure that everything remains level.
Step 6
Next, you have to tack the very top corner of the opening with the door and add in the shims. Take your time adjusting the shims so that your door fits perfectly. Next, install the hinges.
Step 7
Lastly, seal the shim space. Spray foam works nicely for this type of job. Put the finishing touches on your new doors such as a door handle and lock.
So there you have it. All in one day’s work, you have managed to accomplish a complete door installation. Take a moment to admire your handy work. Then, come inside and kick your boots off for the day closing the door behind you.